Have you ever wanted to make your own horse halter? Whether you are a horse owner or just someone who loves crafts, making a horse halter can be a fun and rewarding project. Not only is it a great way to save money, but it also allows you to customize the halter to fit your horse perfectly. In this blog post, we will guide you through the process of making a horse halter step by step. From selecting the materials to tying the knots, you will learn everything you need to know to create a beautiful and functional halter for your equine friend.
Materials Needed
Before you begin making your horse halter, it’s important to gather all the necessary materials. Here’s what you will need:
1. Rope: Choose a strong, durable rope that is soft on your horse’s skin. Nylon or polyester rope is a good choice for making a halter.
2. Tape measure: You will need this to measure your horse’s head to ensure the halter fits properly.
3. Scissors: To cut the rope to the correct length.
4. Lighter: This will be used to seal the ends of the rope to prevent fraying.
5. Optional embellishments: If you want to add a personal touch to your halter, consider adding decorative beads or braiding the rope in different colors.
Measuring Your Horse
The first step in making a horse halter is to measure your horse’s head. Use a soft tape measure to measure around the nose, behind the ears, and under the chin. Be sure to measure snugly but not too tight, as you want the halter to fit comfortably. Write down these measurements, as they will determine the length of the rope you will need.
Preparing the Rope
Once you have the measurements, it’s time to cut the rope to the correct length. Use the scissors to cut the rope according to the measurements you took earlier. Next, use the lighter to carefully melt the ends of the rope to prevent fraying. Be sure to let the ends cool before moving on to the next step.
Tying the Knots
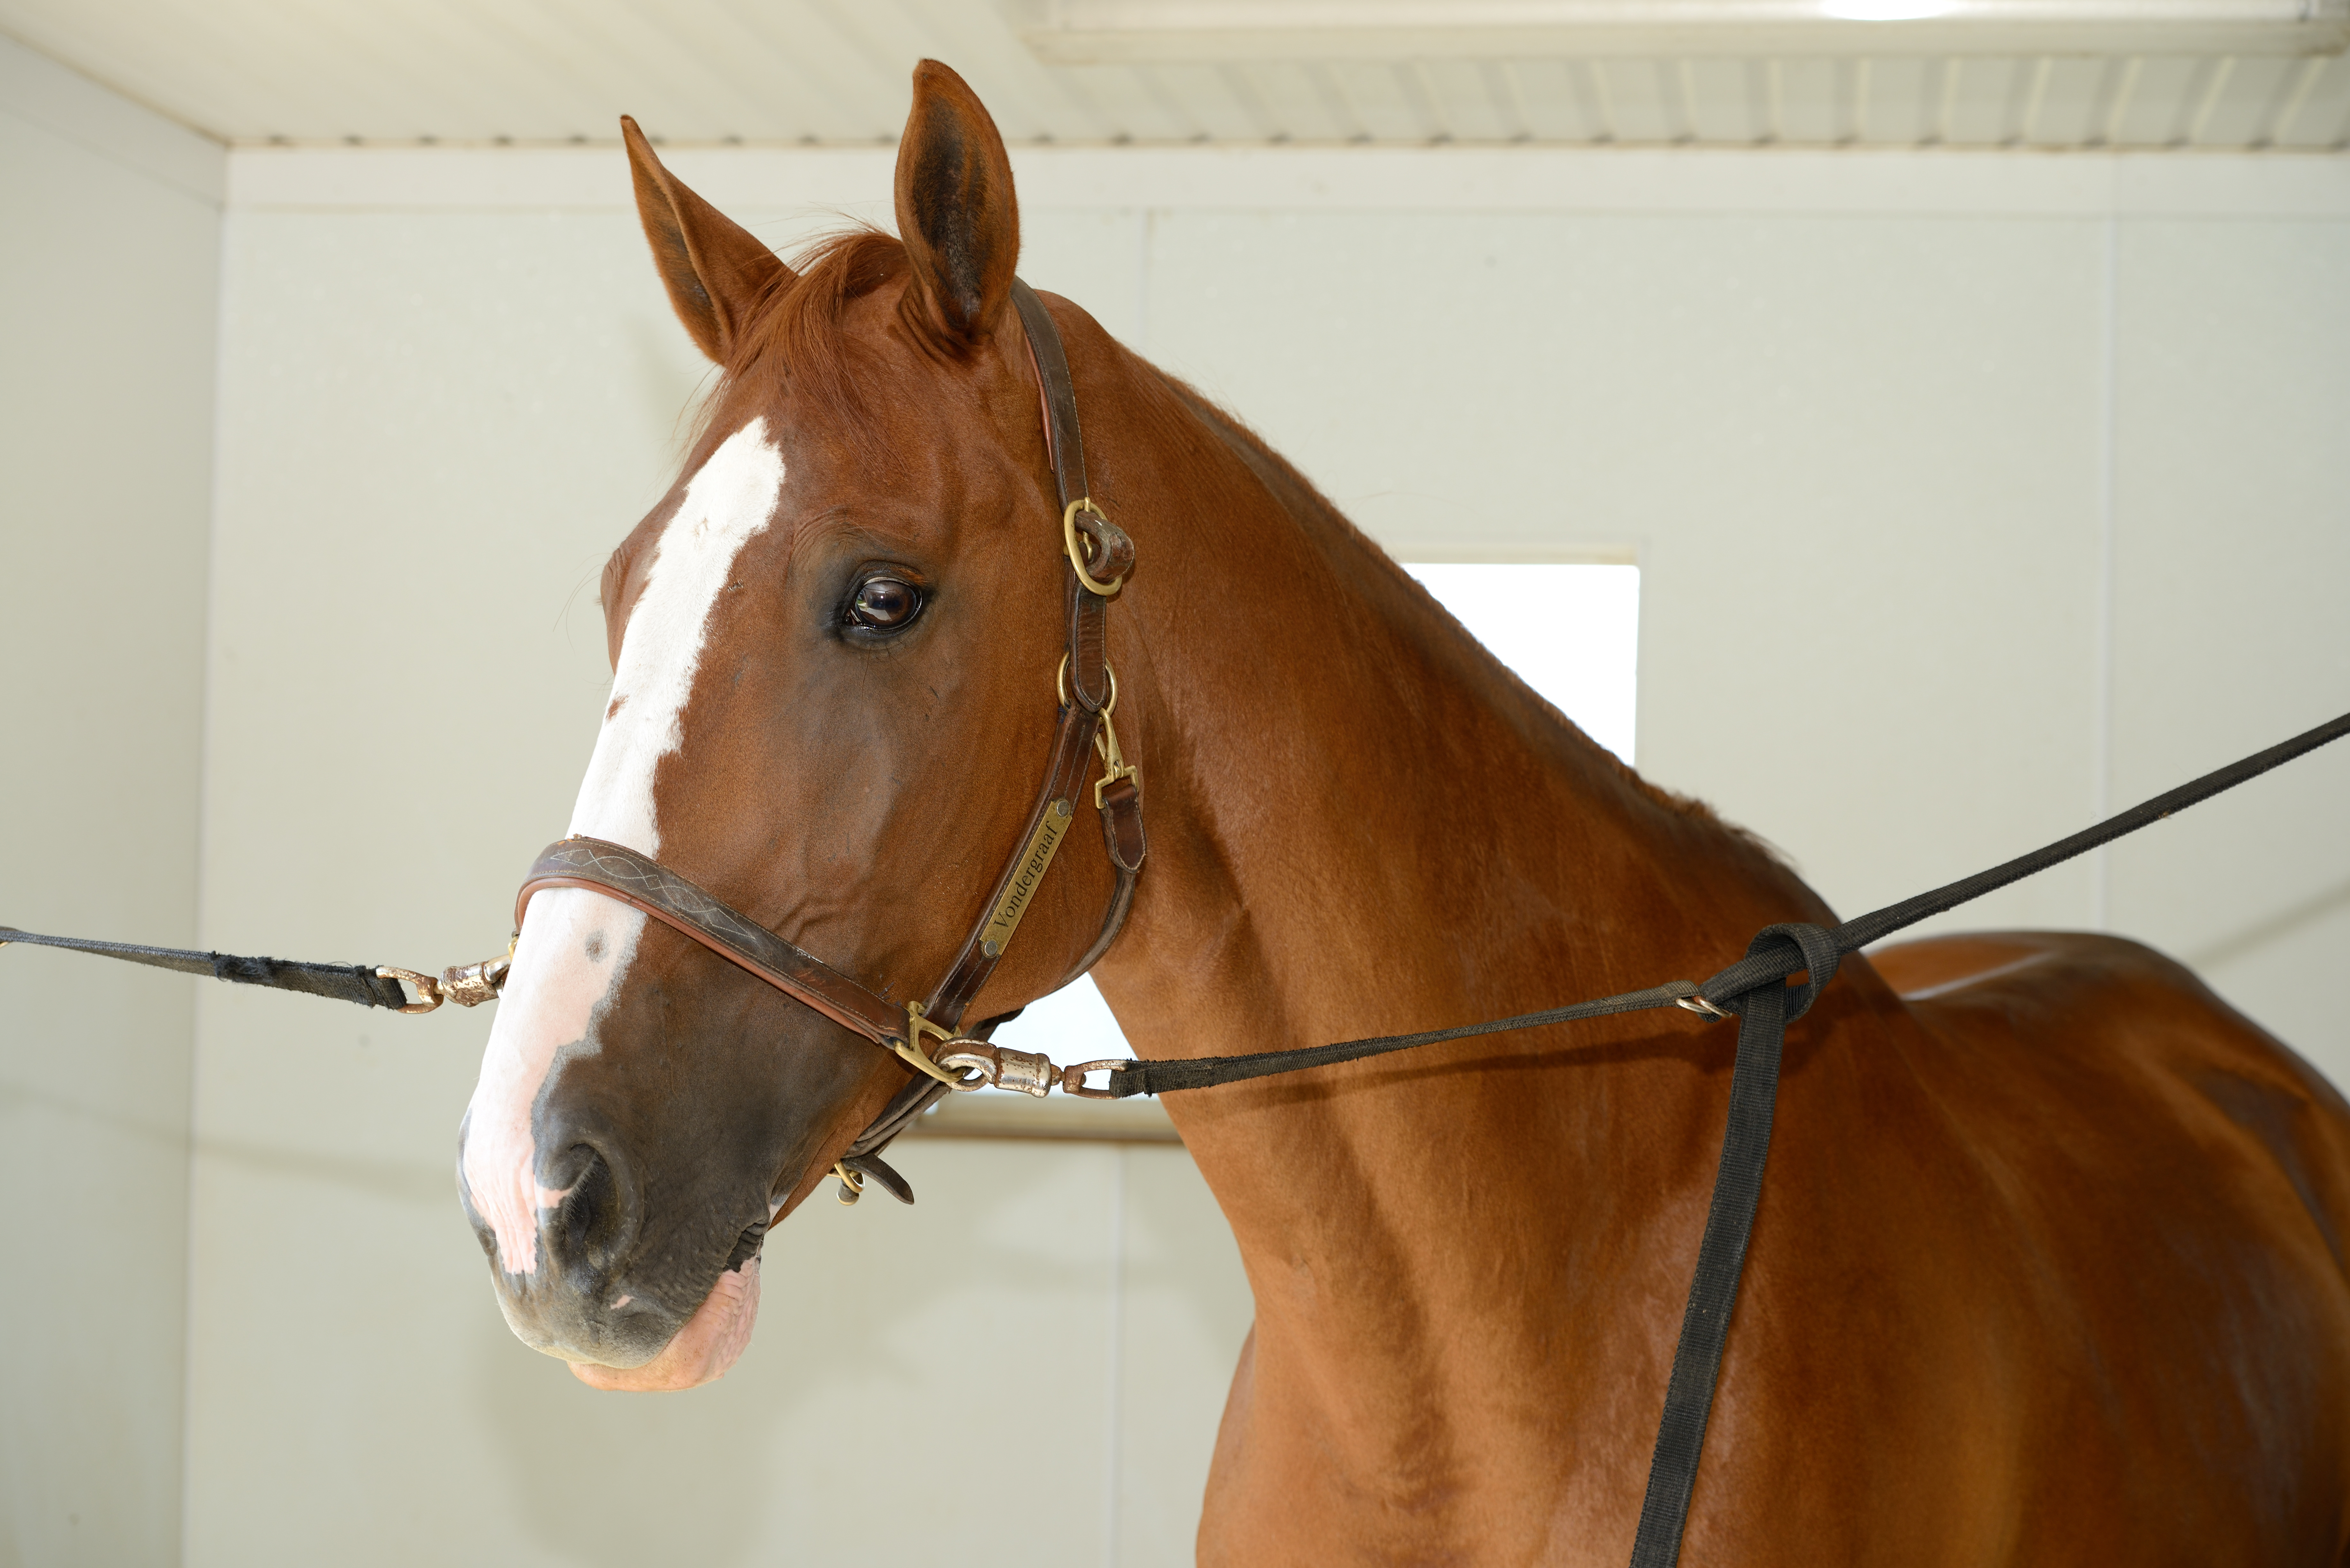
Now comes the fun part – tying the knots to create the halter. Start by folding the rope in half to find the center point. Then, tie a simple overhand knot at the center point, leaving a small loop at the bottom. This loop will serve as the throat latch of the halter.
Next, measure about 12 inches from the center knot and tie another overhand knot on each side of the rope. These knots will form the cheekpieces of the halter. You can adjust the length of the cheekpieces based on the size of your horse’s head.
After tying the cheekpieces, you will need to create the noseband. Measure about 12 inches from each cheekpiece knot and tie another overhand knot on each side. Make sure the noseband is snug but not too tight on your horse’s nose.
Finally, tie a knot at the end of each cheekpiece to create a loop for the crownpiece. The crownpiece goes behind the ears and holds the halter in place. Make sure the loops are large enough to allow for easy adjustment.
Adding Embellishments (Optional)
If you want to add a personal touch to your horse’s halter, now is the time to get creative. You can braid the cheekpieces or noseband with different colored ropes to create a unique look. You can also add decorative beads or charms to the knots for a touch of individuality. Just make sure that any embellishments you add are securely attached and won’t pose a safety hazard to your horse.
Adjusting the Fit
Once you have completed the basic structure of the halter, it’s time to try it on your horse. Gently place the halter on your horse’s head and adjust the knots as needed to ensure a comfortable and secure fit. The throat latch should be snug but not tight, and the noseband should sit just below the cheekbones. The crownpiece should fit comfortably behind the ears without rubbing or causing any discomfort.
Interested in learning more about horses? Check out our articles on how to measure a horse for a halter, how to put a horse down, and how to make a horse patience pole for more insight into the world of horses and horsemanship!
Conclusion
Congratulations, you have successfully made a horse halter! Making your own horse halter can be a fun and rewarding experience, and it allows you to create a custom-fit halter for your horse. By following the steps outlined in this article, you can create a durable and functional halter that is sure to impress. Whether you choose to add embellishments or keep it simple, your handmade halter will be a testament to your craftsmanship and dedication to your equine companion. So, grab your materials and get started on this exciting DIY project – your horse will thank you for it!