Putting boots on a horse is an essential part of horse care and maintenance. Whether for protection during riding or for therapeutic purposes, knowing how to properly put boots on a horse is crucial for the well-being of the animal. In this article, we will discuss the importance of horse boots and provide a step-by-step guide on how to put them on effectively.
Types of Horse Boots
Before delving into the process of putting boots on a horse, it is important to understand the different types of horse boots available. There are various kinds of boots designed for different purposes, including:
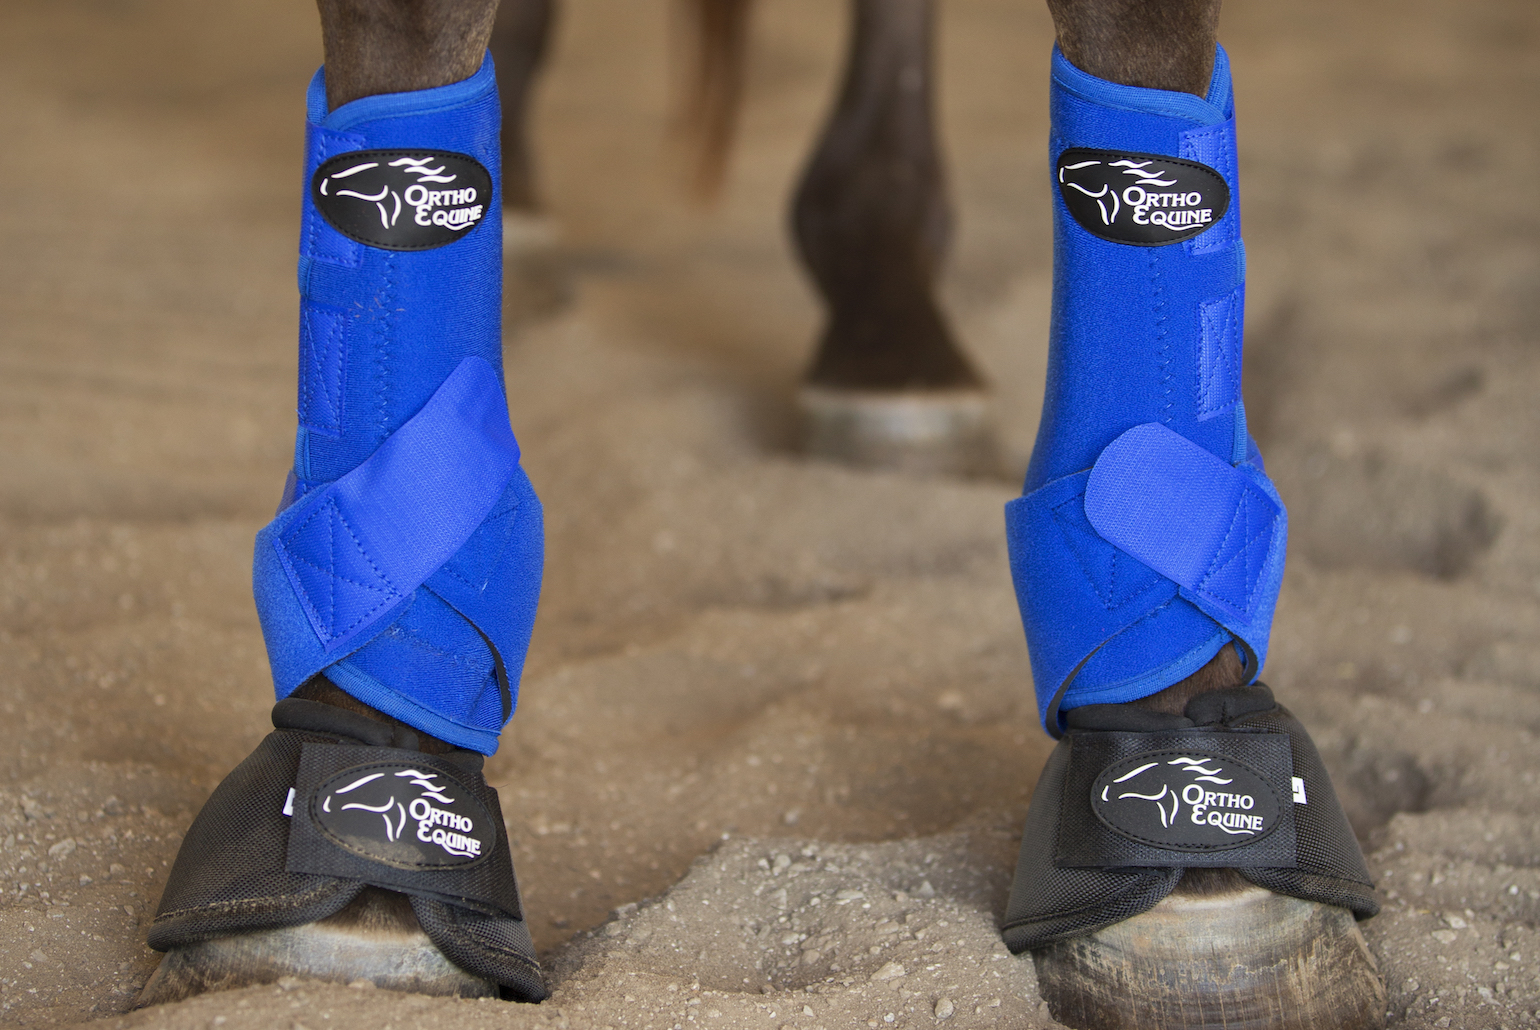
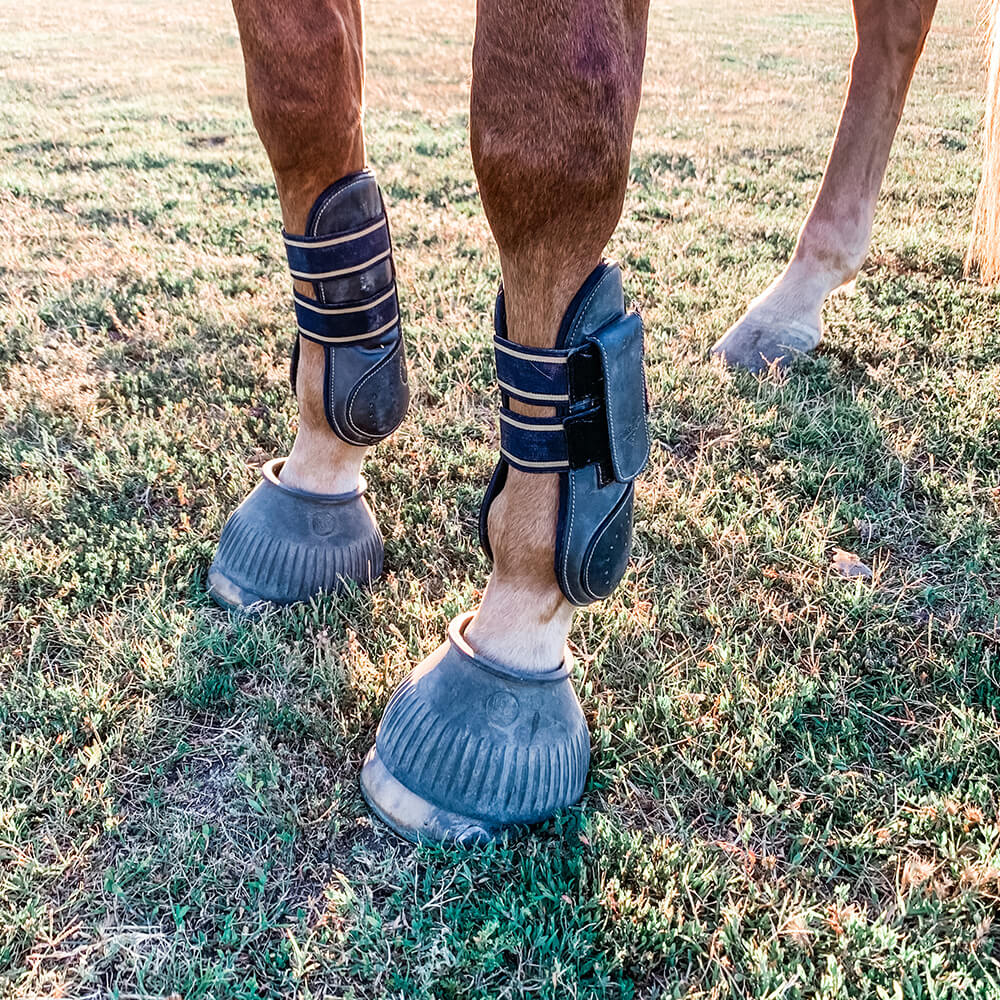
- Protective Boots: These boots are designed to protect the horse’s legs and hooves during riding or exercise, providing support and cushioning to prevent injuries.
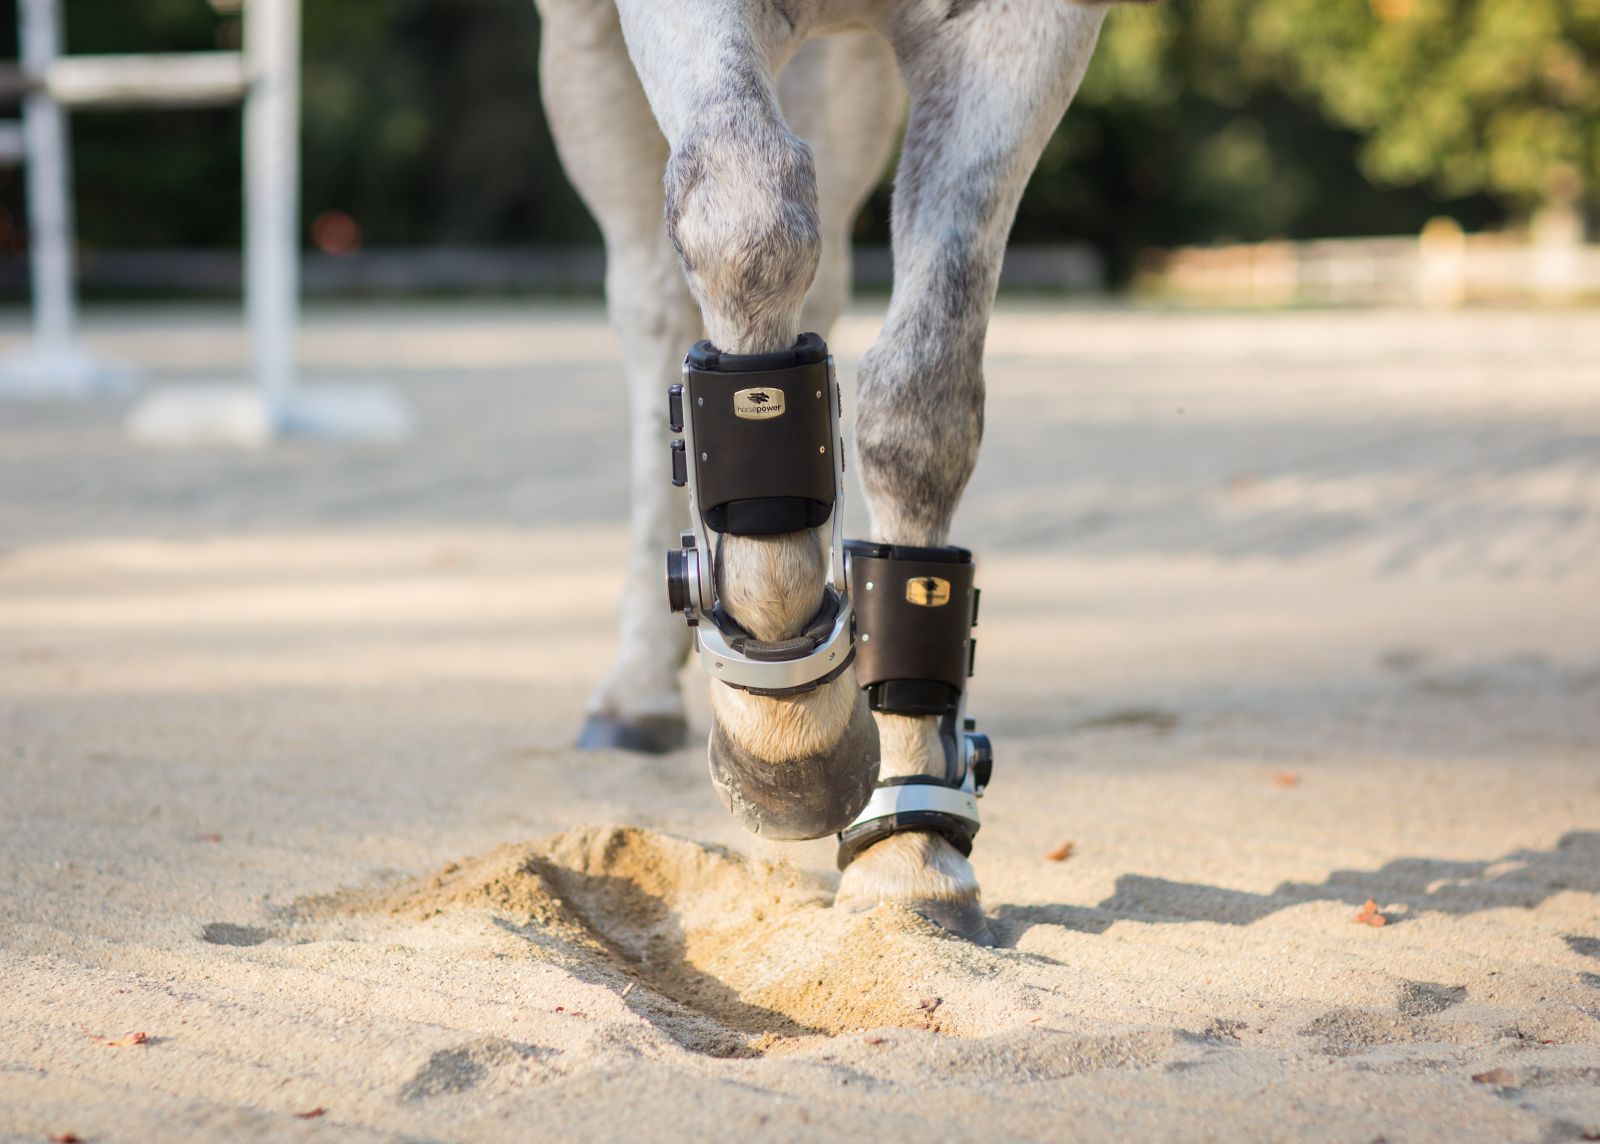
- Therapeutic Boots: These boots are used to alleviate pain and aid in the recovery of injuries or ailments such as tendonitis, arthritis, or laminitis.
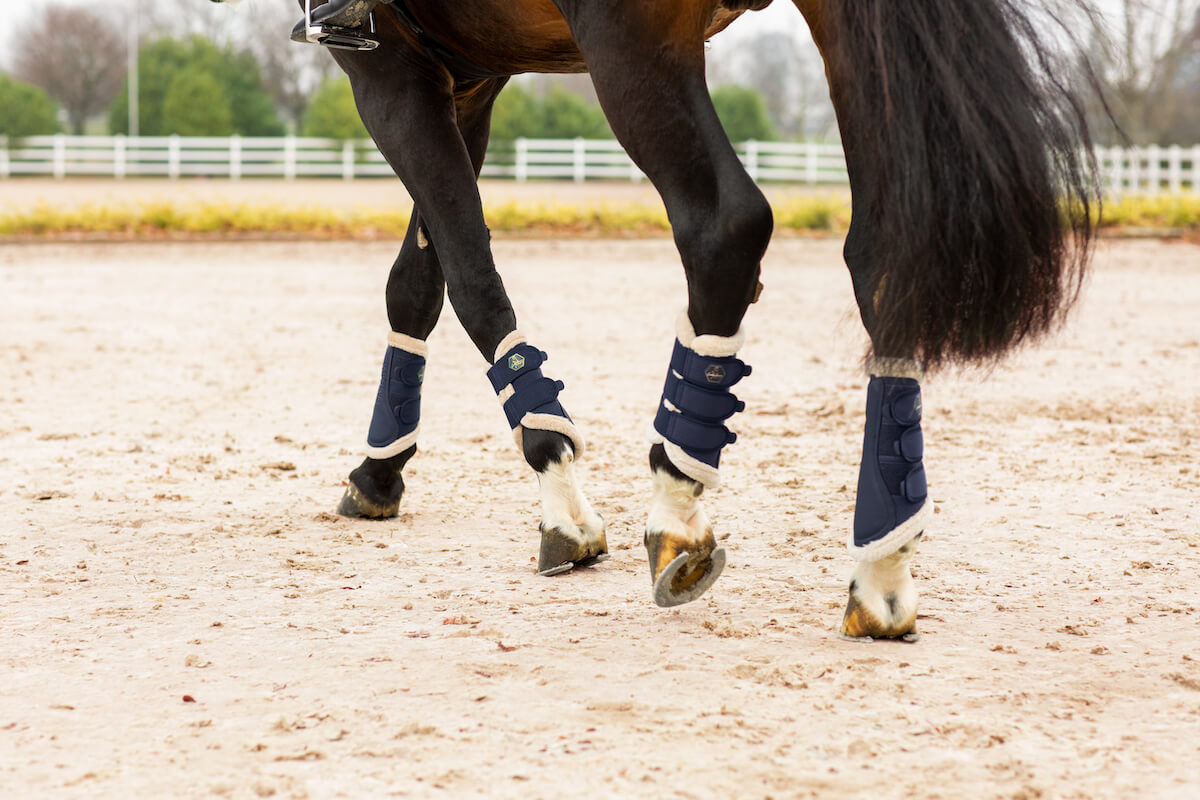
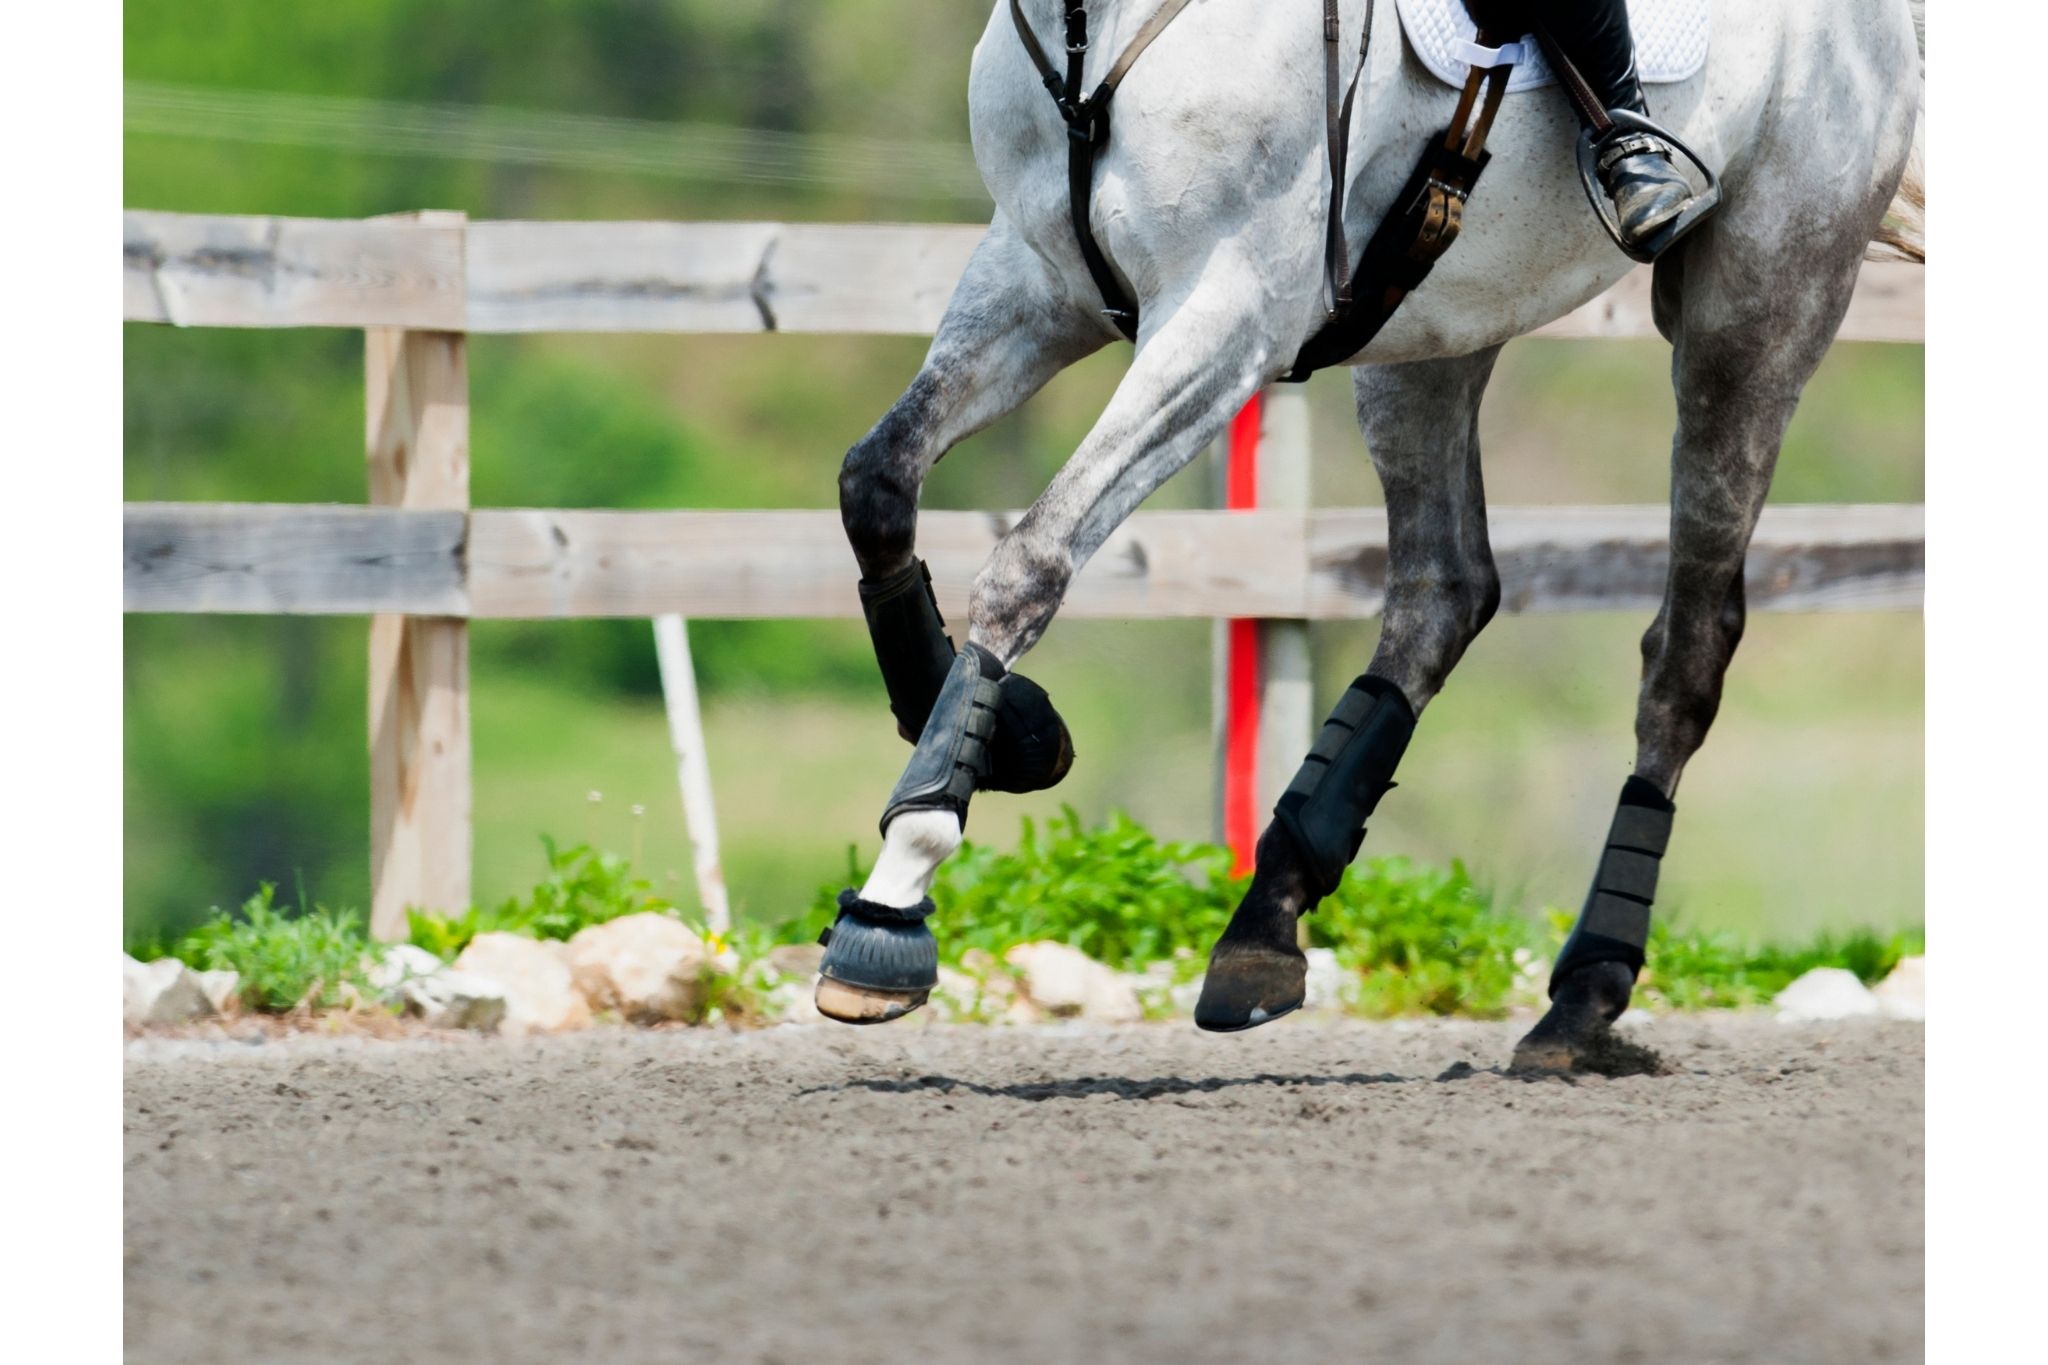
- Specialized Boots: Certain boots are designed for specific disciplines, such as dressage, jumping, or trail riding, to address the unique needs of each activity.
Understanding the purpose of each type of boot is crucial in determining which one is suitable for your horse.
Choosing the Right Boots
When selecting boots for your horse, it is important to consider the specific needs and activities of the horse. Factors to consider include the horse’s size, the intensity of the activity, any existing injuries or conditions, and the type of terrain in which the horse will be ridden.
It is advisable to seek advice from a professional or veterinarian to ensure that the chosen boots are suitable and provide the necessary support and protection for the horse.
Preparing the Horse
Prior to putting boots on the horse, it is essential to prepare the animal to ensure a smooth and stress-free experience. The following steps can help in preparing the horse:
- Clean the Hooves: Ensure that the horse’s hooves are clean and free of debris or mud, as this will help the boots fit properly and prevent irritation.
- Check for Any Injuries: Inspect the horse’s legs and hooves for any signs of injury, swelling, or sensitivity. Avoid putting boots on an injured or sensitive area, and seek veterinary advice if necessary.
- Acclimatize the Horse: Introduce the horse to the boots gradually to familiarize them with the sensation. This can be done by allowing the horse to sniff and touch the boots before putting them on.
Putting Boots on the Horse
Once the horse is prepared and the appropriate boots have been selected, it is time to put the boots on. The following steps outline the process of putting boots on a horse:
- Position the Horse: Lead the horse to a calm and secure area, and secure the horse with a halter and lead rope to ensure control during the process.
- Open the Boots: Unfasten any straps or closures on the boots, ensuring that they are fully open and ready to be put on the horse’s legs.
- Lift the Leg: Gently lift the horse’s leg and hold it in a secure but comfortable position, allowing access to the hoof for boot placement.
- Insert the Hoof: Carefully place the hoof into the boot, ensuring that it is positioned correctly and comfortably within the boot’s confines.
- Secure the Boot: Fasten the straps or closures on the boot, ensuring that they are snug but not too tight to allow for proper circulation and movement.
- Repeat the Process: Repeat the process for each leg, ensuring that the boots are securely and comfortably fitted to provide optimal support and protection.
Maintaining the Boots
After the boots have been successfully placed on the horse, it is important to maintain and monitor them regularly. Proper maintenance can prolong the life of the boots and ensure that they continue to provide the necessary support and protection for the horse.
Regularly inspect the boots for signs of wear, damage, or discomfort, and clean them as per the manufacturer’s instructions to prevent debris buildup and maintain hygiene. Additionally, it is important to check the horse’s legs and hooves for any signs of irritation or rubbing caused by the boots.
Removing the Boots

When the boots are no longer needed or after a riding session, it is necessary to remove them carefully to avoid causing any discomfort or injury to the horse. The following steps outline the process of removing boots from a horse:
- Position the Horse: Lead the horse to a calm and secure area, and secure the horse with a halter and lead rope.
- Unfasten the Boots: Loosen and unfasten the straps or closures on the boots, allowing for easy removal without causing discomfort to the horse.
- Lift the Leg: Gently lift the horse’s leg and hold it in a secure but comfortable position to facilitate the removal of the boot.
- Remove the Boot: Carefully slide the boot off the hoof, ensuring that it is done gently and without causing any stress or discomfort to the horse.
- Repeat the Process: Repeat the process for each leg, ensuring that the boots are removed carefully and safely.
Interested in learning more about horses? Check out our articles on how to pull a horseshoe, how to put a horseshoe on a horse, and how to put a horse down for a deeper understanding of horse care and management.
Conclusion
Putting boots on a horse is an important aspect of horse care and welfare. By understanding the different types of boots, choosing the right ones, and following the proper steps for putting them on and removing them, horse owners can ensure the well-being and comfort of their equine companions. Regular maintenance and monitoring of the boots will further contribute to the overall health and performance of the horse, making the use of boots an integral part of equine care.