Building a horse hitching post is a simple and inexpensive way to give your horse a secure place to tie up. With a few simple tools and supplies, you can easily create a durable post for your horse to tie up to. In this article, we’ll provide an overview of how to build a horse hitching post.
Gather Materials
To build a horse hitching post, you will need the following materials:
| Materials | Amount |
|---|---|
| 4×4 inch post | 1 |
| 2×4 inch board | 1 |
| Cement | Enough to secure the post |
| Screws | 2-3 |
| Wooden Hitching Ring | 1 |
| Hammer | 1 |
| Drill | 1 |
You will also need the following tools:
| Tools | Quantity |
|---|---|
| Saw | 1 |
| Shovel | 1 |
| Level | 1 |
| Measuring Tape | 1 |
Make sure to have all of these materials and tools available before you begin building your horse hitching post.
Prepare the Post

- Choose a post material that is durable and resilient to weather and wear, such as treated wood or metal.
- Cut the post to the desired length. This can be done with a hand saw or a power saw.
- Securely affix the post into the ground. This can be done either by digging a hole and pouring concrete around the post, or by using a metal anchor.
- Drill holes approximately one foot apart, starting at the base of the post and working up. These holes will be used to attach the hitching ring.
- Install metal hitching rings into the drilled holes. These can be secured with screws, bolts, or metal clamps.
Dig the Post Hole
Before you can install your horse hitching post, you need to create a secure base for it. The best way to do this is to dig a post hole. Here are the steps to follow:
| Step | Explanation |
|---|---|
| 1. | Choose a spot for your post and mark the center with a stake. |
| 2. | Dig a hole at least 12 inches deep and 12 inches in diameter. |
| 3. | Mix concrete or use gravel and sand to create a solid base for the post. |
| 4. | Pack the concrete or gravel and sand into the hole. |
| 5. | Place the post into the hole and check to make sure it is level. |
| 6. | Fill the hole with concrete or gravel and sand and tamp it down. |
| 7. | Allow the concrete or gravel and sand to dry before proceeding to the next step. |
By following these steps, you will have a secure base for your hitching post that will remain in place for years to come.
Set the Post

- Dig a hole for the post. The hole should be about 12-18 inches deep and 8-12 inches wide.
- Place the post in the hole. Make sure the post is leveled and plumb.
- Add concrete mix to the hole and around the post. Make sure the post is firmly set within the concrete mix.
- Tamp the soil around the post. Use a tamping tool to pack the soil around the post firmly.
- Add more concrete mix as needed. Make sure to add enough concrete mix to fill the hole and to keep the post erect and secure.
- Allow the concrete mix to cure. The curing process can take up to 48 hours.
Secure the Post
Once the post is firmly in place, use an anchor or fastener to secure it. You have several options when it comes to fasteners.
| Fastener | Description |
|---|---|
| Concrete Anchor | Ideal for posts in concrete or ground, requires drilling into concrete or ground |
| U-Bolt or J-Bolt | Ideal for posts in concrete or ground, requires drilling into concrete or ground |
| Lag Bolt | Ideal for posts in wood, requires drilling into wood |
| Screws and Washers | Ideal for posts in wood, requires drilling into wood |
| Post Anchor | Ideal for posts in concrete or ground, requires drilling into concrete or ground |
If you are attaching the post to a wooden surface, use a lag bolt, screw and washer, or a post anchor. If you are attaching the post to a concrete or ground surface, use a concrete anchor, U-bolt or J-bolt, or a post anchor.
No matter which type of fastener you use, make sure to use enough to securely attach the post in place. If the post is not properly fastened, it may be at risk of tipping over and causing injury.
Construct the Base
The base of the horse hitching post is an important element that provides stability when a horse is tied to it. To construct the base, you will need the following materials:
- Four 4×4 treated posts
- Two 2×6 boards
- Twelve 3-inch deck screws
- One 2-foot long rebar
- Four concrete anchors
- Masonry drill bit
- Circular saw
- Hammer
Begin by cutting the four 4×4 posts to the desired height. The height of the posts should be at least 8 feet tall to ensure the post is high enough for a horse to tie to. Next, cut the two 2×6 boards to the same height as the posts. Then, use the twelve 3-inch deck screws to secure the 2×6 boards to the 4×4 posts. The posts and boards should be securely screwed together at both the top and bottom.
Once the posts and boards are securely connected, it’s time to secure the base to the ground. Using the masonry drill bit, drill holes into the ground at each corner of the base. Then insert the four concrete anchors into the holes. Finally, insert the 2-foot long rebar into the anchors to secure the base to the ground. Use the hammer to ensure the rebar is securely in place.
Your base is now complete. You can now attach the horse hitching post to the top of the base.
Install the Support Beam
| Tools | Materials |
|---|---|
| Post Hole Digger | 12-foot 4×4 Pressure-Treated Post |
| Cordless Drill | Galvanized L-Brackets |
| Tape Measure | Concrete |
Before installing the support beam for your hitching post, you need to make sure the post is securely in place. First, dig a hole for the post, making sure it is at least 18 inches deep and 12 inches in diameter. Fill the hole with concrete and insert the post, making sure that it is level. Once the post is secure, you can begin to install the support beam.
Begin by measuring the distance between the top of the post and the desired height of the beam. Cut a 4×4 pressure-treated post to the desired length. Secure the beam to the post using galvanized L-brackets. Make sure the brackets are securely fastened and the beam is level.
Once the beam is in place, you can begin to attach the hitching post. Use a cordless drill to secure the hitching post to the beam. Make sure the hitching post is level and secure.
Once the support beam and hitching post are securely in place, you can begin to enjoy your finished hitching post.
Frequently Asked Questions
1. What materials are needed to build a horse hitching post?
Building a horse hitching post is a relatively simple and inexpensive project to undertake. Here is a list of materials that you will need for the project:
- 4×4 pressure treated timber
- Concrete mix
- Shovel
- Level
- Carpenter’s square
- Circular saw
- Post hole digger
- Tape measure
- Screwdriver
- Bolts/screws
2. How long does it take to construct a hitching post for horses?
The amount of time it takes to construct a hitching post for horses will depend on the materials you choose to use and the level of difficulty of the project. If you are building a simple wooden post, the process can usually be completed in a few hours. However, if you are looking for something a bit more elaborate, such as a metal or stone post, the construction process can take much longer.
On average, building a hitching post for horses should take between 2-4 hours, depending on the materials and complexity of the design. Here is an overview of the steps required to build a hitching post:
- Gather the necessary materials
- Mark the location of the post
- Dig the post hole
- Set the post in the hole
- Attach the arm to the post
- Secure the post in the ground
- Attach the bridle loop to the arm
- Secure the arm to the post
- Paint or seal the post
- Test the post for stability
Once you have completed each of these steps, your hitching post should be ready for use.
3. Are there any safety considerations when making a horse hitching post?
When making a horse hitching post, it is important to consider the safety of the horse and the rider. Here are some safety considerations to keep in mind:
- The post should be made of a material that will not splinter or chip, such as metal, to prevent injury to the horse.
- The post should be properly anchored in the ground to prevent it from falling over.
- The post should be tall enough that the horse cannot reach it with its hooves.
- The post should be placed out of the way of traffic to reduce the risk of being hit by vehicles.
- The post should be placed in an area with good footing to reduce the risk of slipping and injury.
- The post should be checked regularly for signs of wear and tear and replaced when necessary.
4. What tools are necessary to make a horse hitching post?
Building a horse hitching post requires the use of a few basic tools. You will need:
- Circular saw
- Drill
- Measuring tape
- Level
- Chisel
- Hammer
- Post hole digger
- Cement
All of these tools are essential to the safe and secure installation of your hitching post. A circular saw will be used to cut the wood of your post, the drill to make holes for the screws, and the measuring tape and level to ensure the post is perfectly straight. You will need a chisel and hammer to carve out space for the screws, a post hole digger to dig a hole for the post and cement to secure it in the ground.
Make sure to double check all of your measurements and take the necessary safety precautions when using the tools. With the right tools and a bit of patience, you will be able to build a sturdy and secure hitching post for your horse.
5. Are There Any Special Instructions for Installing a Horse Hitching Post?
- Determine the size of the post according to the size of the horse and the area in which it will be installed. Make sure to leave enough room for the horse to move freely.
- Select the type of post according to the area it will be installed in. If the post is going to be installed in a wet area, it should be made from a material that is not prone to rot or rust.
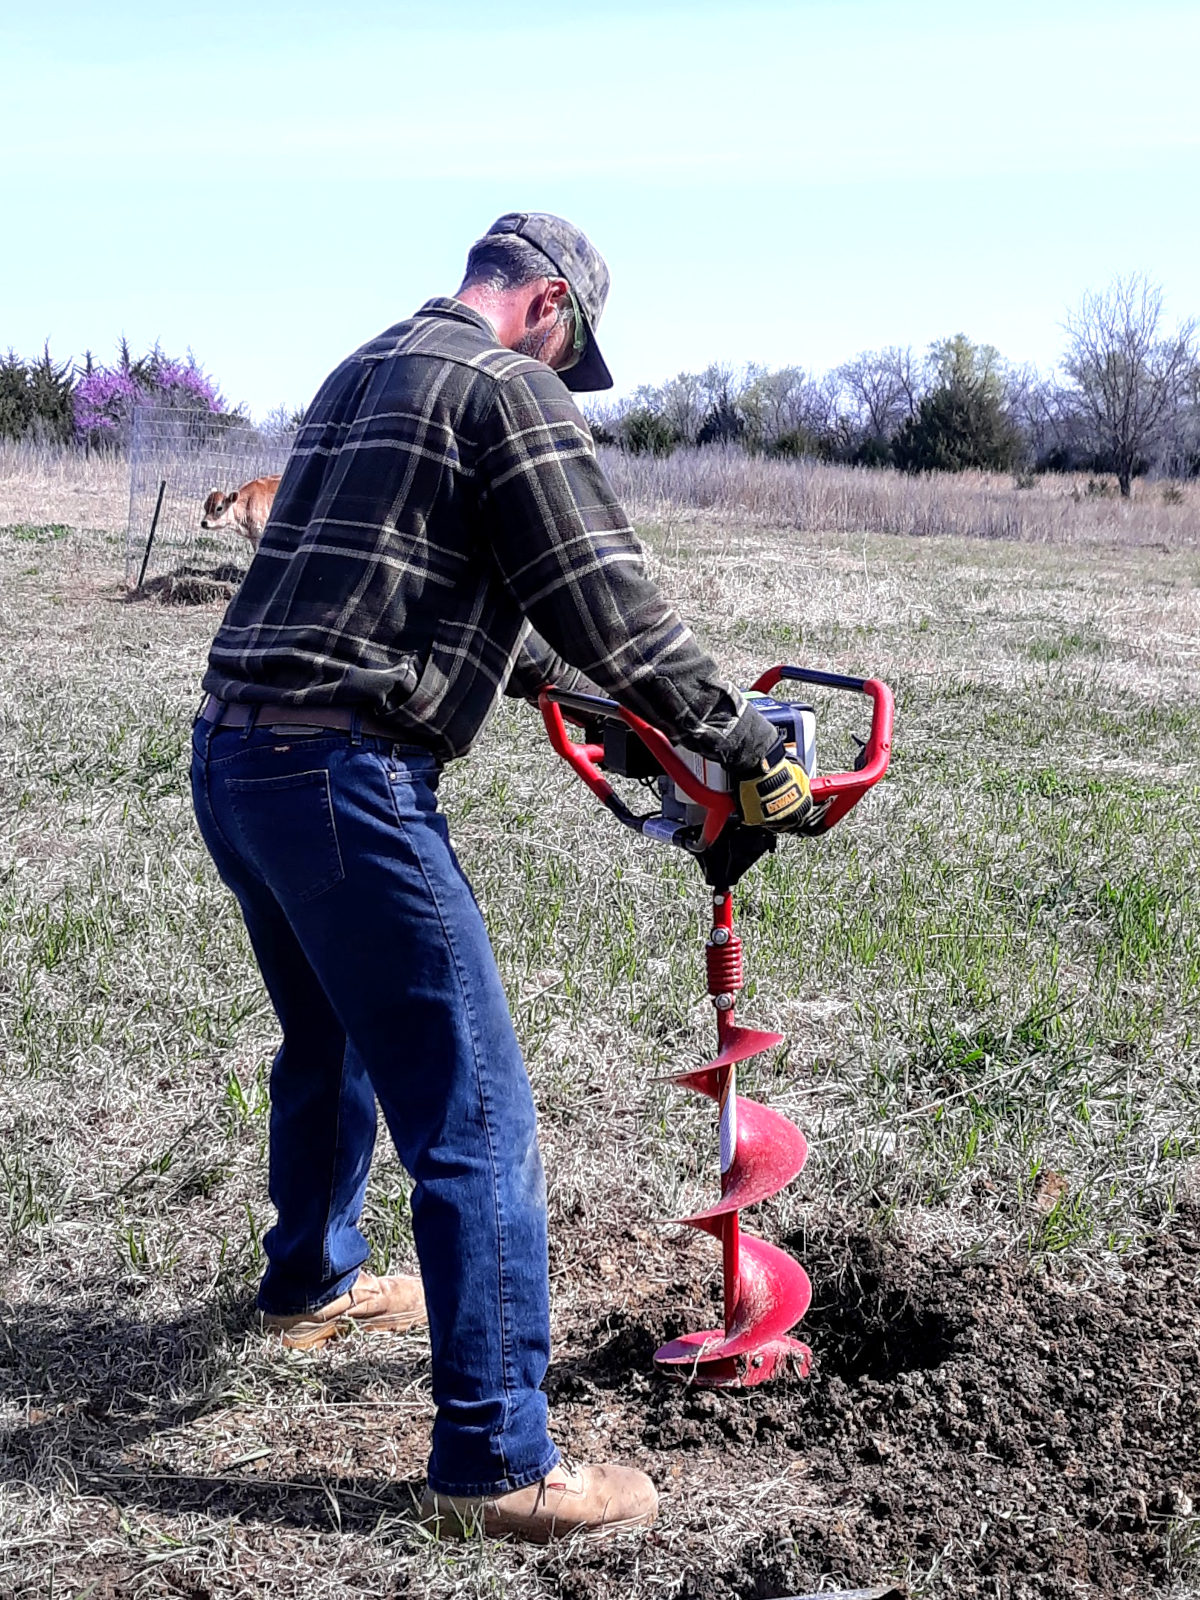
- Dig a hole at least 2 feet deep in the ground to install the post. If the soil is rocky or very hard, it is recommended to use a power auger or post hole digger.
- Fill the hole with gravel to create a solid base for the post. Place the post in the hole and make sure it is level.
- Fill the hole with concrete and tamp it down. Allow the concrete to dry completely before attaching the horse hitching post.
- Secure the post to the ground by attaching it to the concrete with lag bolts.
Conclusion
In conclusion, building a horse hitching post is a fairly simple project that can be done in an afternoon. All you need is a few pieces of lumber, some tools, and a basic understanding of how to put them together. The most important thing to remember is to use pressure-treated wood, so that your hitching post will last for years to come. With a little bit of care and maintenance, your horse hitching post should provide a safe spot for your horse for many years to come.
References
- Sawing Horses: The Basics of Building a Hitching Post, Equine Spot
- Hitching Post Plans: How to Build a Hitching Post, Country Living
- How to Build a Hitching Post, Hunker
- Hitching Post Basics, Dr. Larry’s